An open binocular harness strap is the low-bulk option between a neck strap and an enclosed chest pack. It spreads the carry path across the shoulders and upper torso while leaving the binocular exposed, so attachment geometry, adjustment range, and strap behavior matter more than the word “harness” on the package. Elastic can keep the binocular closer to the body but also introduces movement that depends on tension and load, while non-stretch webbing behaves differently. Choose this architecture when reduced bulk and fast access matter more than enclosure, and verify the exact connector system before buying.
Define what makes an open binocular harness strap different
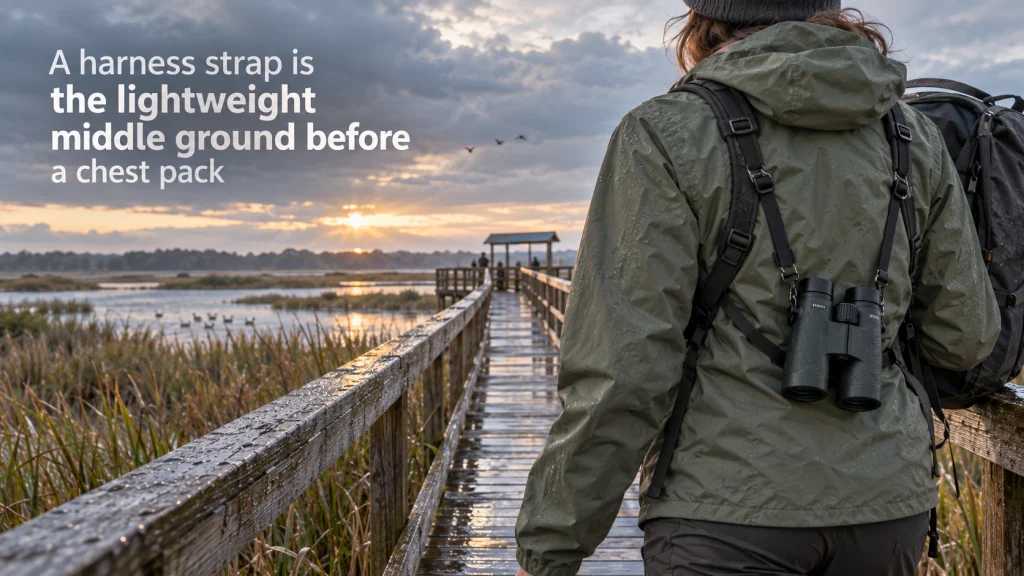
A binocular harness strap is first a carry architecture, not a promise about comfort or stability. An open harness routes the binocular through straps across the shoulders and torso but does not place the optic inside a pouch. That makes it a useful middle ground for someone who wants less concentrated neck load without adding an enclosed carrier to the chest. If you are still comparing the basic architectures, the broader binocular harness guide explains the open and enclosed choices before you compare details.
The important distinction is what the system does not provide. The binocular body, eyecups, objective covers, and focus wheel remain exposed unless another accessory covers them, so an open harness should not be described as a case. That exposure can be acceptable when low bulk and immediate access are the priority, but it changes the answer when dust, rain, brush contact, or impact protection matters more. The same logic applies across binocular accessories chosen to solve a specific carry or setup problem: start with the constraint, then decide whether the added hardware actually addresses it.
Shoulder-distributed load
The practical change is the load path. Instead of hanging the full binocular from one strap around the neck, an open harness uses multiple strap segments across the shoulders and upper torso. That can reduce how much of the hanging load is concentrated at the neck, but it does not prove that a particular user will find the system comfortable for a particular duration. Strap width, tension, clothing, binocular weight, body shape, and backpack interaction still affect the result.
Exposed binocular body
Open access is the advantage and the tradeoff at the same time. With no lid or pouch to open, the binocular can usually travel directly from its resting position toward the eyes, provided the strap path gives enough reach. The exposed body also has less physical shielding than it would inside an enclosed chest pack. Treat that difference as a protection decision, not as a ranking of one system above another.
Elastic or webbing behavior
Current harness designs use different materials, including stretch cord, elastic webbing, and non-stretch webbing. Those materials change how the system lengthens under load and how much tension is needed to bring the binocular to eye level. Elastic-looking construction alone does not justify a claim that the binocular will stay perfectly still against the torso. A non-stretch option also does not automatically fit better, because its geometry and adjustment range still have to match the user and the optic.

This open harness uses nylon and Lycra straps to spread the carry load across the shoulders. Its one-size design is fully adjustable and lets binoculars slide up into viewing position. It is also listed for rangefinders and cameras, making it a direct fit for the open-harness architecture discussed here.
Check on AmazonIf you click this link and buy, we earn a commission at no additional cost to you.
Check the attachment points and connector geometry
Compatibility starts at the binocular, not at the shoulder straps. Look at the actual strap lugs or slots on both sides of the binocular and compare them with the harness connector, whether that connector is a narrow loop, split ring, rubber loop, quick disconnect, or another documented interface. A connector that looks small enough in a photo can still be awkward if the binocular lug is recessed, unusually narrow, thick, or positioned close to the body armor. The safest buying rule is simple: verify the exact connector path shown by the harness maker and confirm that your binocular provides a suitable attachment point.
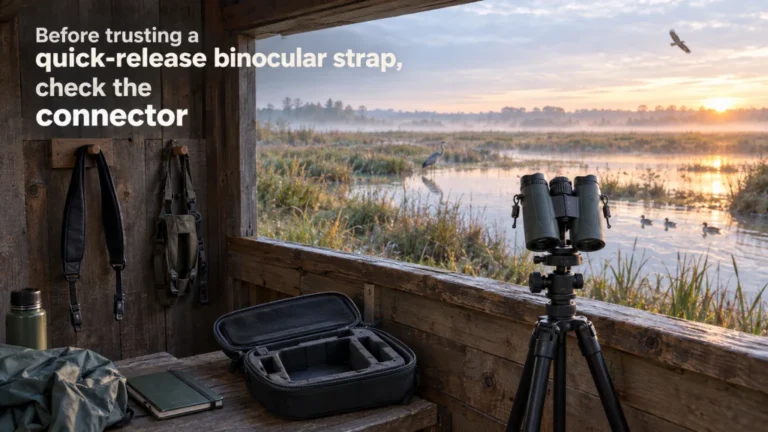
Quick disconnect hardware deserves the same scrutiny because it adds another interface between the harness and the optic. Check what remains attached to the binocular after the harness is removed, whether replacement connectors are available, and whether the same connector can be used with another strap you already own. The quick release binocular strap guide goes deeper into that swap system when fast removal is the main reason for changing carry gear. Do not assume that two systems with similar buckles or small loops are cross-compatible unless the manufacturer documents that relationship.
| Connector detail | What to verify | Why it matters |
|---|---|---|
| Binocular lug or slot | Opening size, access, and clearance around the armor | The harness connector must pass through or attach without forcing the hardware |
| Loop or ring | Material, thickness, and documented attachment method | A connector can fit physically yet rub, twist, or sit poorly at the lug |
| Quick disconnect | Matched halves, orientation, and availability of spare connectors | The buckle is useful only if the binocular-side hardware stays compatible |
| Strap routing | Whether the strap crosses, twists, or pulls evenly from both sides | Uneven routing can change resting position and usable reach |
Before relying on a “universal” label, compare the documented attachment method with the exact binocular in front of you. If the connection requires an improvised ring, cord, or adapter that the manufacturer does not describe, treat that as a separate compatibility decision rather than proof that the harness fits. Small connector pieces are also part of ownership cost because losing one can make an otherwise usable harness difficult to swap between carry systems. A clean fit is more valuable than a clever workaround that creates a new weak point.

This minimalist black harness uses shock cord and weighs 2.24 ounces. The listing documents an adjustable quick-release system for binocular carry. Its compact open design makes the connector and binocular-side attachment worth checking closely before use.
Check on AmazonIf you click this link and buy, we earn a commission at no additional cost to you.
Treat stretch and bounce as linked tradeoffs
Stretch can help an open harness hold a binocular closer to the torso at rest while still allowing enough travel to raise it to the eyes. The same stretch also stores and releases energy as the binocular moves, so some motion is inherent to the system whenever the optic accelerates against elastic tension. How noticeable that movement becomes depends on binocular mass, strap tension, routing, walking motion, and how low the binocular hangs. That is why a “zero bounce” promise should not be inferred from elastic construction or a close-fitting product photo.
Non-stretch webbing changes the problem rather than eliminating it. With little material stretch, the resting position depends more directly on strap length and body geometry, and the user needs enough free travel to lift the binocular without the harness becoming restrictive. A heavier 10×50 can also load the same strap system differently from a compact 8×25, even when both can physically attach. The useful comparison is not elastic versus webbing in the abstract, but which behavior gives your binocular enough reach while keeping its resting position acceptable.
- Raise the binocular to your normal viewing position and check that the harness reaches without pulling your shoulders forward.
- Lower it and note where it rests before deciding whether the position is controlled enough for your use.
- Repeat the motion with the clothing and backpack you normally wear, because added layers can change tension and routing.
- Do not use a manufacturer comfort claim as proof of all-day comfort for your body, load, or setup.
A first-time buyer can easily mistake more elastic tension for more control. Too much tension may hold the binocular tighter at rest, yet it can also make the lift to the eyes feel more constrained and increase the pull you feel during movement. Too little tension can create more hanging travel. The practical target is enough control without sacrificing the reach needed for a normal viewing posture.

This X-shaped open harness uses nylon and Lycra construction with adjustable strap length. The straps are designed to let binoculars slide into viewing position while reducing swing against the chest. Its stretch-oriented construction makes it a relevant example for comparing reach, tension, and movement.
Check on AmazonIf you click this link and buy, we earn a commission at no additional cost to you.
Check adjustment range over normal clothing and backpack straps
A harness that fits over a thin shirt can behave differently over a sweatshirt, insulated layer, or backpack shoulder straps. Extra layers increase the circumference the harness must travel around and can shift where buckles or crossing points sit on the body. A published “one size fits most” statement is useful only as a starting point if the maker does not publish a measurable adjustment range. The real fit check is whether you can place the binocular at a useful resting height and still raise it naturally with your normal layers in place.
Backpack straps add another geometry problem because two strap systems may compete for the same shoulder area. Check whether harness straps can lie flat rather than bunching under or over thicker backpack padding, and make sure adjustment hardware is not trapped where it becomes difficult to reach. If the harness must be loosened substantially to clear the backpack, repeat the eye-level reach check afterward. A setup that works only before the backpack goes on is not fully fitted.
Key point: Fit is not established by magnification, objective size, or a generic harness label. The binocular weight, connector position, clothing layers, torso dimensions, backpack straps, desired resting height, and viewing posture all affect whether the same harness geometry works for a particular user. A fit claim therefore needs more than the binocular format printed on the body. Test the complete carry setup rather than treating one specification as a shortcut.
Do the fit test in the order the gear will actually be worn. Put on the clothing and backpack first, then route and adjust the harness, then attach the binocular and test both rest position and eye-level reach. That sequence avoids tuning the harness to an empty torso and discovering later that another strap blocks the adjustment point. It also gives you a realistic picture of how much hardware is sharing the same space.

This orange X-shaped harness uses nylon straps with front and rear adjustment for adult fit. It is listed for binoculars, cameras, and rangefinders and is designed to keep optics close to the chest. The broad adjustment makes it useful for checking fit over different clothing layers before relying on one setup.
Check on AmazonIf you click this link and buy, we earn a commission at no additional cost to you.
Compare an enclosed chest pack when protection matters more
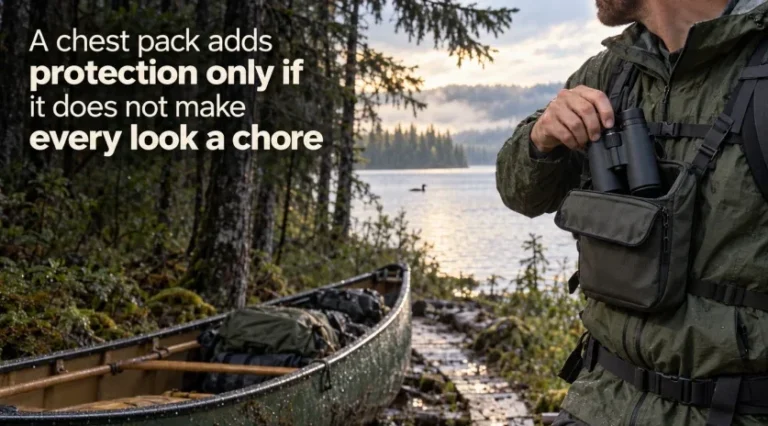
An enclosed chest pack solves a different problem because it surrounds the binocular with a pouch rather than leaving the optic exposed. That can add physical shielding from dust, light rain, brush contact, and incidental bumps, depending on the exact pack design and closure. The cost is more material on the torso, another opening step, and fit that often depends on the external dimensions of the binocular. If protection is becoming the dominant requirement, the binocular chest pack guide is the better next comparison.
Do not treat the pouch as automatically superior simply because it encloses more of the binocular. Someone who values minimal bulk and direct lift-to-eye access may prefer the simpler open architecture, while someone carrying expensive optics through dirty or brushy conditions may assign more value to enclosure. Exact pack sizing matters too because eyecup position, objective diameter, and binocular length can change whether a pouch closes correctly. In other words, the chest pack earns its extra bulk only when the added protection or storage solves a real problem.
| Carry style | Main advantage | Main tradeoff | Best fit when |
|---|---|---|---|
| Neck strap | Lowest complexity | Load remains concentrated around the neck or one shoulder | The binocular is light enough and carry periods are short enough for the simple setup |
| Open harness strap | Shoulder-distributed carry with little enclosure bulk | Binocular remains exposed and strap behavior depends on geometry and tension | You want less neck concentration without a chest pouch |
| Enclosed chest pack | More physical protection and often added storage | More bulk, another access step, and more size-dependent fit | Protection matters more than the lightest carry architecture |
The table is a classification tool, not a universal ranking. Start with the problem you are trying to solve, then eliminate the architecture that adds a tradeoff you do not need. If the binocular mostly needs to stay accessible and off a single neck strap, an open harness may be enough. If the binocular itself needs a protective home on the torso, the enclosed option is addressing a different requirement.

The GlassPak encloses binoculars in a chest-mounted pouch rather than leaving the optic fully exposed. It includes mesh side pockets, a rear zippered pocket, and binocular tethers. The pack weighs 8 ounces, making it a direct enclosed-system comparison when protection and storage matter more than minimal bulk.
Check on AmazonIf you click this link and buy, we earn a commission at no additional cost to you.
Compare a neck strap when low complexity matters more
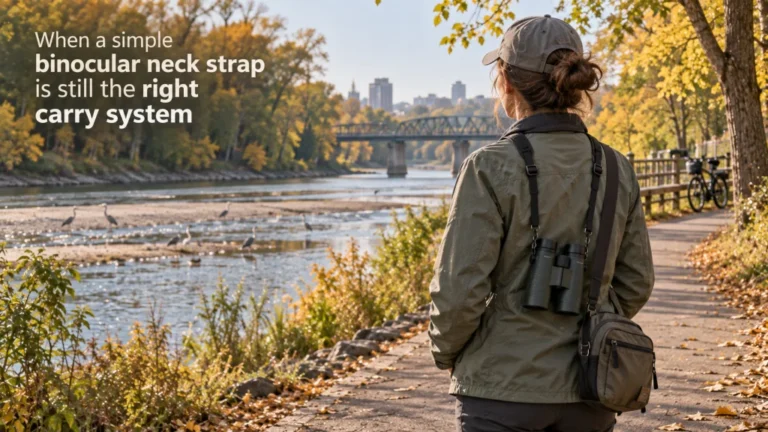
A neck strap remains the simpler system because it usually uses fewer strap runs, fewer adjustment points, and less hardware around the torso. That simplicity can be an advantage with a light binocular, a short carry period, or a user who frequently takes the binocular on and off. It also avoids the interaction between harness straps and backpack shoulder straps. The tradeoff is that the load stays concentrated through the neck or whichever shoulder takes the strap.
The binocular neck strap guide is the better comparison when the real question is whether a harness solves enough of a carry problem to justify extra routing. Do not move to a harness merely because it looks more technical or has more attachment hardware. If the current strap already keeps a light binocular accessible for the duration you use it, buying another carry system may add complexity without solving a meaningful constraint. The open harness makes sense when its different load path is the feature you actually need.
Note: A carry system should not be judged from the binocular specification alone. Two 10×42 binoculars can have different weights, body lengths, strap-lug positions, and balances, so the same neck strap or harness can sit differently even when the optical configuration matches. The exact body and attachment geometry still control how the carry system hangs. Confirm that geometry before assuming two binoculars of the same format will fit the same way.
That is also why a simple carry test can be more useful than adding features on paper. Attach the exact binocular, set the resting height, raise it several times, and check whether the strap hardware stays out of the way of your hands and eyecups. Then repeat with the other gear you normally wear. If nothing important improves, the simpler strap remains a reasonable answer.

This padded nylon shoulder strap adjusts from about 39.4 to 63 inches. The selected version includes two sizes of quick-release connectors and is listed for binoculars as well as cameras and bags. It provides a simpler single-strap alternative when a full torso harness adds more routing than the carry problem requires.
Check on AmazonIf you click this link and buy, we earn a commission at no additional cost to you.
Use the broader harness guide when you have not chosen open versus enclosed
If you are still deciding between an open strap harness and an enclosed carrier, connector details are not yet the first decision. Begin with whether the binocular needs enclosure, extra storage, or simply a different load path from a neck strap. The binocular harness comparison keeps that architecture decision separate from the fine details of one strap design. Once the architecture is clear, connector geometry and adjustment become much easier to evaluate.
This sequence also prevents paying for protection you do not need or buying a minimal strap system when exposure is the problem you are trying to solve. A reader carrying a compact binocular for short periods can reach a different answer from someone carrying a heavier full-size binocular for hours, even if both begin with the same search term. Neither result makes one architecture universally better. The right system is the one that solves the carry constraint without creating more bulk, complexity, or compatibility risk than necessary.
- Choose a neck strap if simplicity is still more valuable than redistributing the load.
- Choose an open harness if shoulder-distributed carry is useful and exposure is acceptable.
- Choose an enclosed chest pack if protection or chest-level storage is more important than minimum bulk.
- Verify the exact binocular attachment and fit before treating any of those choices as compatible.
The last step is deliberately model-specific. Check the binocular lugs, the harness connector, the available adjustment, and the resting height with your actual clothing and other straps. If the documentation leaves the connection ambiguous, do not force the hardware or assume a third-party adapter solves the issue. Compatibility is proven by the interface, not by the category label.

The Triumph HD 10x42 is a full-size roof-prism binocular sold with a GlassPak harness. It uses 42 mm objective lenses and includes adjustable eyecups and a diopter. The bundled enclosed carrier gives a concrete contrast when deciding whether an open harness or a pouch-based system better matches the carry problem.
Check on AmazonIf you click this link and buy, we earn a commission at no additional cost to you.
Final Thoughts: choose an open harness only when low bulk matters more than enclosure
An open harness earns its place when you want to shift the carry path away from a single neck strap without putting the binocular inside a chest pouch. That is a narrower benefit than many marketing descriptions imply, and it is useful precisely because it keeps the decision simple. Verify the connector, confirm the adjustment range with your normal layers, and test whether the strap gives enough reach to raise the exact binocular naturally. Do not turn elastic, extra buckles, or the word “harness” into evidence of comfort or zero bounce.
If enclosure, storage, or physical protection has become the main requirement, compare a chest pack instead. If the binocular is light and the current strap is already acceptable, keeping the simpler neck strap can be the better decision. The open harness is the middle option, not the automatic upgrade. Choose it only when its lower bulk and different load path solve a problem you can clearly identify.

This black X-shaped harness uses adjustable sliding brackets and fast-release buckles. It is intended for binoculars and cameras and distributes the carry path across the upper body instead of relying on one neck strap. Its simple open architecture makes it a concrete reference for the low-bulk choice described in the final section.
Check on AmazonIf you click this link and buy, we earn a commission at no additional cost to you.
FAQs
🔭 Is a binocular harness strap the same as a chest pack?
No. An open harness uses straps to carry the binocular without enclosing it, while a chest pack places the binocular in a pouch or compartment. Choose between them based on whether low bulk or added protection matters more.
🎒 Can I wear an open binocular harness with a backpack?
Often, but fit depends on how both strap systems share the shoulder area. Put the backpack on first, then adjust the harness and confirm that the binocular can still move from its resting position to your eyes without binding.
🧷 Will any binocular fit a universal harness?
Do not rely on the word “universal” alone. Compare the exact binocular strap lugs with the documented loop, ring, buckle, or quick disconnect used by the harness, and verify any adapter separately.
🪢 Is elastic better than non-stretch webbing?
Neither is automatically better. Elastic changes tension as the binocular moves, while non-stretch webbing relies more directly on fixed strap length and routing. The better choice is the one that gives your binocular an acceptable resting position and enough reach to view naturally.
⚖️ Will a harness stop binoculars from bouncing?
Do not assume that. Movement depends on binocular weight, strap material, tension, routing, resting height, and body motion. A harness can change how the binocular is controlled, but the architecture alone does not prove zero bounce.
👕 Should I adjust the harness over a jacket or other layers?
Adjust it over the layers you expect to wear because added clothing changes the required strap length and can move buckles or crossing points. Recheck both the resting height and eye-level reach after changing layers.
References and Sources
- Celestron harness documentation: Supports the open-harness distinction, adjustable flexible strap construction, and shoulder-distributed carry description.
- Maven harness documentation: Documents a shock-cord open harness with quick disconnect hardware and more than one binocular-side attachment option.
- OP TECH harness specifications: Documents separate elastic and non-stretch webbing versions, two connection points, Uni-Loop connectors, and published strap construction details.