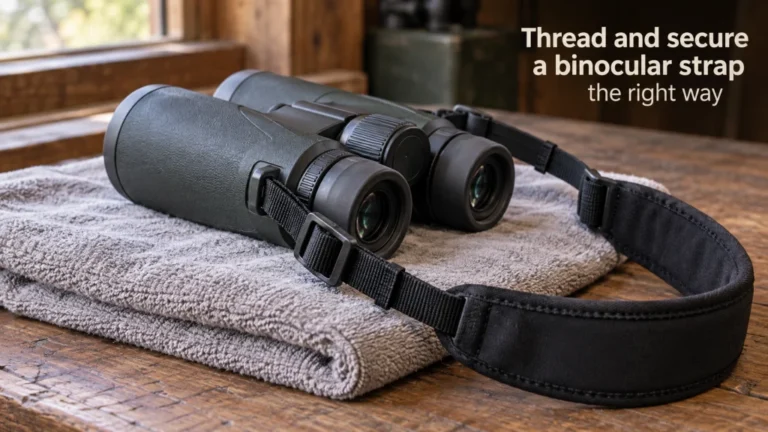
Finding a subject through binoculars is usually harder than focusing once the subject is already in view. The reliable approach is to locate the subject with your naked eyes, keep your head and gaze aligned with it, raise the binoculars into that same line of sight, and use a nearby landmark when the subject is too small to reacquire directly. Pre-focusing for the approximate distance can reduce how much correction you need after the binoculars reach your eyes. Field of view can make acquisition easier or harder, but technique matters even with a wide view.
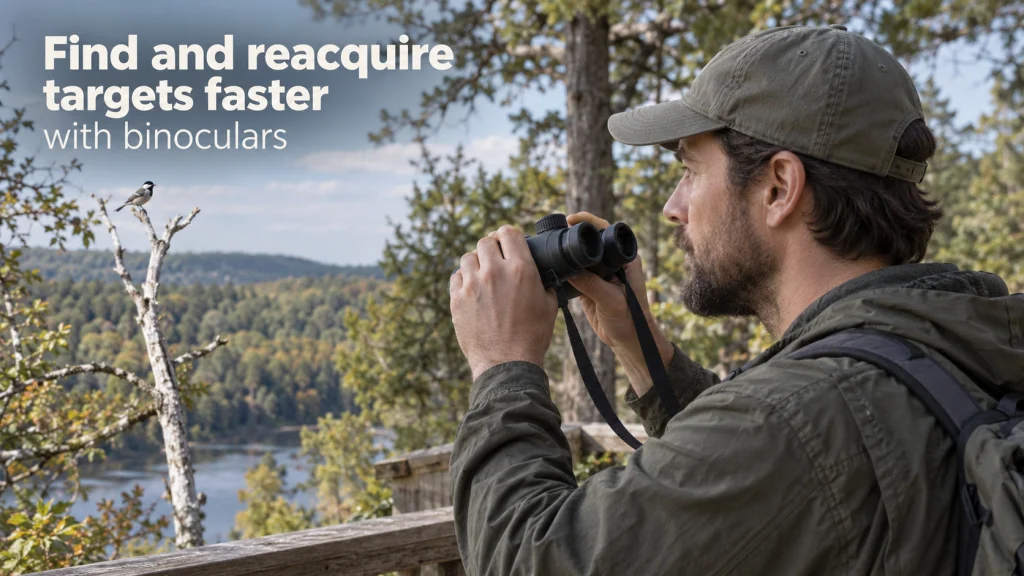
Why the subject disappears when the binoculars reach your eyes
Learning how to find objects with binoculars is mostly a coordination problem, not a magnification problem. Your naked eyes see a broad scene, but the moment you raise binoculars you trade that broad context for a much smaller field. If your head turns, your gaze drops to the binoculars, or the barrels arrive slightly off your original line of sight, the subject may vanish even though it has barely moved. The fix is to make the raise itself repeatable instead of searching through the binoculars after every miss.
That sequence works best when the binoculars are already adjusted to you. If the eyecups, interpupillary distance, or diopter are still wrong, start with the basic binocular setup process before practicing acquisition. For a broader explanation of handling, focusing, and viewing technique, the practical guide to using binoculars covers the larger owner-use workflow. Once setup is stable, target acquisition becomes a simple movement you can practice rather than a fresh puzzle every time.

This 8x42 roof-prism binocular has a 7.2-degree field of view, covering 377 feet at 1,000 yards. Its central-focus system and 20.2 mm eye relief support straightforward setup and repeated acquisition practice. The body is waterproof and nitrogen-filled for fog resistance.
Check on AmazonIf you click this link and buy, we earn a commission at no additional cost to you.
Start with the target or landmark using your naked eyes
Before raising the binoculars, identify exactly where the subject sits in the larger scene. Do not settle for a vague direction such as somewhere near the left side of the trees or somewhere above the roofline. Pick the subject itself when it is easy to see, or choose a nearby feature that is larger and easier to recognize. A branch fork, sign edge, bright window, isolated post, or strong contrast boundary can give you a visual address that survives the transition into a magnified view.
This matters because the unaided view supplies context that the binocular view removes. When people lose a subject, they often respond by sweeping the binoculars around, which replaces one known position with a series of guesses. A better approach is to lower the binoculars, recover the scene with your eyes, and start again from a known point. That habit may feel slower for the first few attempts, but it builds a consistent acquisition pattern instead of reinforcing random searching.
Keep your head and gaze fixed as the binoculars rise
Once you have the subject, keep looking at it while the binoculars come up to your eyes. The useful motion is from your hands to your face, not from your face down toward your hands. Your head should stay pointed along the same line while the eyepieces move into place. If you glance at the focus wheel, strap, or barrels during the raise, you have to reconstruct the original direction when you look through the eyepieces again.
Bring the binoculars up smoothly rather than trying to jab them into position quickly. A repeatable path gives the barrels a better chance of ending up on the same visual axis your eyes were already using. Keep your grip secure but not excessively tight, because unnecessary tension can make both the raise and the final view less steady. If the subject is not present when the view appears, lower the binoculars and reset instead of immediately panning in circles.
Use a nearby landmark when the subject is small
A small subject can be difficult to center directly, especially when the background contains repeating shapes such as foliage, windows, fence posts, or roof details. In that situation, choose a landmark that is easier to identify through both naked eyes and binoculars. Raise the binoculars onto that landmark first, confirm that you have the correct feature, then move a short and deliberate distance toward the subject. This turns a hard direct hit into a short navigation step from something you can reliably recognize.
The best landmark is close enough to the subject that you do not need a long sweep after finding it. It should also be visually distinctive, because a generic branch or one of many identical windows can create a new matching problem. Think in simple relationships such as just above, one branch to the right, or below the brightest edge. The goal is not to memorize the whole scene but to create one dependable handoff point between naked-eye viewing and binocular viewing.
Pre-focus for the approximate distance
Acquisition is easier when the view is already close to sharp at the distance you expect to use. If the binoculars are focused very near while the subject is far away, the first view may be so blurred that you cannot recognize the landmark you aimed at. Before you begin, focus on a stationary object at roughly the same distance as the area you plan to observe. You are not trying to predict perfect focus, only to avoid starting from the wrong end of the focus range.
Once the subject appears, finish focus with the center wheel if your binoculars use a central focusing system. Different designs handle focusing differently, so do not assume every binocular has the same control layout or the same amount of focus travel. The diopter is a setup adjustment for balancing the view between your eyes, not the control you should normally chase every time the subject distance changes. If a familiar pair suddenly seems impossible to focus correctly, return to the manufacturer instructions and check the setup rather than forcing any control.

Celestron Outland X 10x42 uses 10x magnification, multi-coated optics, and BaK-4 prisms in a waterproof nitrogen-filled body. A large focus knob is designed for easy, precise focusing, matching the pre-focus workflow in this section. The selected 10x42 variant has a 5.6-degree field of view and a ±3 diopter range.
Check on AmazonIf you click this link and buy, we earn a commission at no additional cost to you.
Scan from the landmark instead of sweeping randomly
Sometimes the binoculars land on the correct area but not directly on the subject. When that happens, start from the landmark you intentionally chose and make a controlled movement based on the known relationship between landmark and subject. Move in one direction at a time and keep the distance of that movement small. A short correction preserves orientation, while a broad random sweep quickly makes it hard to know where you are in the scene.
If the correction fails, reset rather than widening the search indefinitely. Lower the binoculars, recheck the subject or its landmark with your naked eyes, and repeat the same raise. This also helps you learn whether your miss is consistently high, low, left, or right, which can reveal a repeatable mounting habit you can correct. The aim is not to become good at searching a narrow magnified view, but to become accurate enough that very little searching is needed.
How field of view changes the difficulty
A wider field of view gives you more scene around the point where the binoculars land, so a small aiming error is less likely to put the subject completely outside the visible area. That can make binocular target acquisition feel more forgiving, especially while you are still learning the raise. A narrower view leaves less margin around the subject and makes precise alignment more important. This does not mean there is one field-of-view number that every beginner should choose, because field of view varies with binocular design and must be weighed with the rest of the viewing requirements.
Field of view also cannot repair poor setup or an inconsistent raise. If your eyecups create blackouts, the barrels are not matched to your interpupillary distance, or you look away during the movement, a wide view may still feel difficult to enter cleanly. Treat field of view as one factor that changes the size of your aiming margin, not as a substitute for technique. The practical question is whether you can bring the binoculars up and retain enough surrounding context to recognize where you landed.
| Viewing condition | What field of view changes | What still depends on technique |
|---|---|---|
| Large stationary subject | A wider view gives more surrounding context | Keeping the raise aligned with your gaze |
| Small subject near a clear landmark | A wider view may keep landmark and subject in the same scene | Choosing the right landmark and moving deliberately from it |
| Subject lost after raising | A wider view gives a larger recovery area | Lowering, reacquiring with naked eyes, and resetting instead of sweeping randomly |
Use that comparison to diagnose the problem before blaming the binoculars. If you regularly land close to the subject but just outside the view, field of view may be part of the difficulty. If you land in completely different parts of the scene each time, the raise itself deserves more practice first. That distinction keeps an owner-use problem from turning into an unnecessary equipment problem.
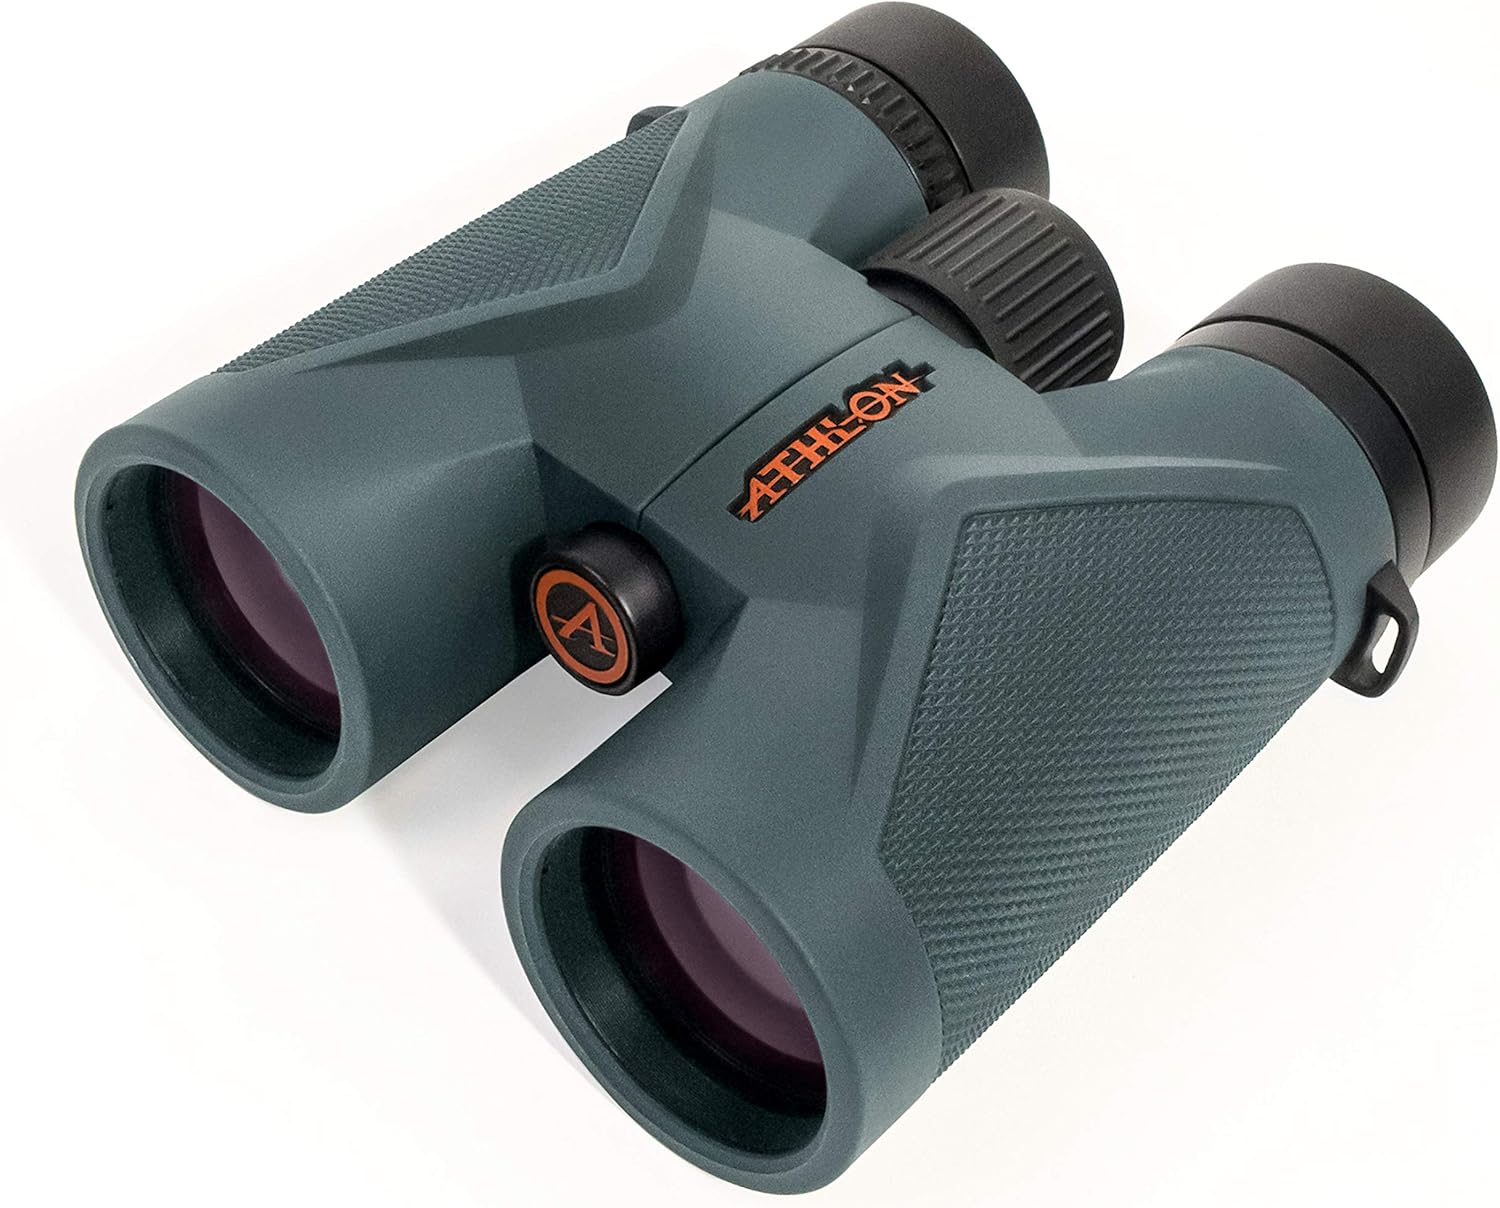
Athlon Midas UHD 8x42 provides an 8.1-degree angular field of view, equal to 426 feet at 1,000 yards. UHD glass, phase-corrected prisms, and advanced fully multi-coated lenses support the optical system. Twist-up eyecups, 17.2 mm eye relief, and a 6.5-foot close focus round out the viewing setup.
Check on AmazonIf you click this link and buy, we earn a commission at no additional cost to you.
Practice with stationary targets before moving ones
Stationary objects let you practice the movement without adding subject motion to the problem. Choose several easy objects at different directions and distances in a safe viewing area, then repeat the same naked-eye aim and binocular raise for each one. Start with large, obvious shapes, then move to smaller details that require more accurate alignment. The purpose is to make the physical sequence automatic enough that you do not have to think about where your hands or focus wheel are during every attempt.
- Pick a stationary object you can identify instantly with your naked eyes.
- Keep your gaze on it and raise the binoculars without looking down.
- If you miss, lower the binoculars and start again instead of sweeping.
- Repeat from different directions so the movement does not depend on one familiar position.
- Add a nearby landmark when the chosen detail becomes too small to hit directly.
After several clean repetitions, try subjects that move slowly enough that you can still maintain naked-eye contact. Keep the task limited to acquisition and reacquisition rather than adding identification, navigation, or activity-specific tracking rules. If you lose the subject, return to the same reset process instead of accelerating into a broad scan. Consistency matters more than speed, and speed usually improves only after the sequence becomes predictable.
Keep the technique general rather than activity specific
The acquisition sequence here is intentionally general: identify the subject or landmark, hold the visual direction, raise the binoculars, focus, and reset if needed. Different activities can add their own scanning patterns, identification methods, tracking rules, safety requirements, or equipment choices, but those belong to their own context. A basic binocular handling article should not pretend that one viewing sequence automatically becomes expert technique for every field use. Keeping the boundary clear also prevents general owner guidance from drifting into specialized targeting or navigation instruction.
For ordinary observation, the useful measure of success is simple: can you move from naked-eye sight to a recognizable binocular view without losing your place in the scene? If the answer is no, first check setup, then practice the raise, then add a nearby landmark, and only after that consider whether field of view is making the task unusually demanding. That order separates correctable technique from equipment characteristics. It also gives you a repeatable troubleshooting path instead of a vague feeling that you are simply bad at using binoculars.
Final Thoughts: Make acquisition a repeatable movement
A more reliable route to acquisition is not faster sweeping. Find the subject with your naked eyes, keep your head and gaze fixed, raise the binoculars into that line, and use a nearby landmark when direct acquisition is difficult. Pre-focus for the approximate distance so the first magnified view is recognizable, then make only the focus correction you actually need. If the subject is missing, lower the binoculars and reset rather than turning a small miss into a large search.
Practice this with stationary objects until the sequence feels ordinary. Then the binoculars become less like a narrow window you must search through and more like an extension of the direction you were already looking. A wider field of view can provide more margin for error, but it works best on top of sound setup and consistent movement. The practical goal is not perfect first-try aim every time, but a method that lets you reacquire quickly without losing orientation.

Celestron Nature DX 8x42 combines 8x magnification with a 7.4-degree field of view, covering 388 feet at 1,000 yards. Twist-up eyecups, 17.5 mm eye relief, and a ±3 diopter range support repeatable personal setup. The waterproof body uses fully multi-coated optics and phase-coated BaK-4 prisms.
Check on AmazonIf you click this link and buy, we earn a commission at no additional cost to you.
FAQs
🔭 Why do I lose the object when I raise my binoculars?
Your naked-eye view is much broader than the binocular view, so a small change in head direction or gaze can move the object outside the visible field. Keep looking at the object while bringing the binoculars to your eyes, and lower them to reset if you miss.
👀 Should I look at the binoculars while bringing them up?
No. Looking down at the binoculars breaks the visual direction you established with your naked eyes. Keep your gaze on the subject and bring the binoculars into that line of sight.
🌳 What should I do when the subject is too small to aim at directly?
Choose a nearby landmark that is easy to recognize with both naked eyes and binoculars. Acquire the landmark first, then make a short, deliberate movement toward the subject.
🎯 Does a wider field of view make objects easier to find?
It can make acquisition more forgiving because more of the surrounding scene remains visible after the binoculars reach your eyes. It does not replace correct setup or a consistent raise, and there is no single field-of-view threshold that suits every binocular or viewing situation.
⚙️ Should I adjust the diopter every time I change distance?
Usually no for a conventional center-focus binocular that has already been set up correctly. Use the normal focus control for changing subject distance, and follow the exact manufacturer instructions because focus and diopter layouts can vary by design.
📍 Is it better to scan around if I miss the target?
Not usually. A short correction from a known landmark is useful, but broad random sweeping can make you lose orientation. Lower the binoculars, reacquire the scene with your naked eyes, and repeat the raise.
References and Sources
- Fujifilm binocular instructions: Supports the use of a naked-eye landmark first, then locating that landmark through the binoculars before moving to the subject.
- Nikon binocular viewing guidance: Supports keeping the gaze fixed on a visible subject while raising the binoculars and practicing first with easy stationary objects.