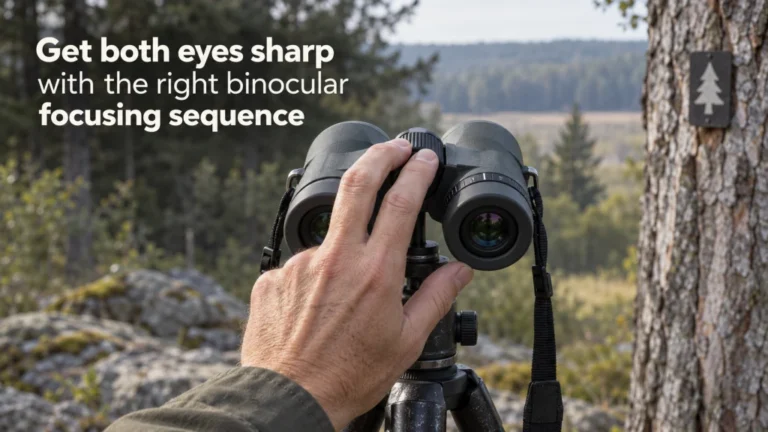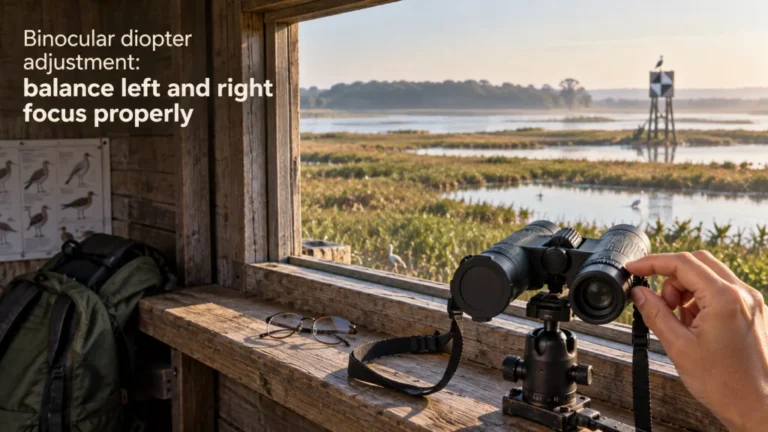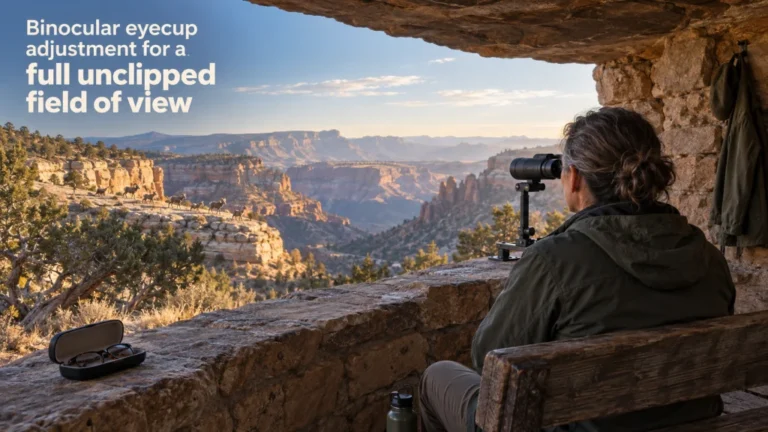
Good binocular setup starts with matching the binocular to your eyes before you chase sharpness with the focus wheel. Eyecup position, interpupillary distance, center focus, and diopter each solve a different problem, and the exact control layout can vary by model. Once the personal settings are established, normal viewing should require far less adjustment. The goal is a repeatable setup that gives you one comfortable field of view and makes later focusing simple.
Why focus fails when eye position is wrong
Binocular setup often feels like a focusing problem because blur is the first thing people notice. The center focus wheel can sharpen an image, but it cannot correct eyecups that place your eyes too close or too far from the eyepieces, and it cannot fix barrel spacing that does not match your eyes. If you start by spinning the focus wheel while the fit is wrong, you can end up chasing a soft, clipped, or shadowed view without solving the cause. A better order is to establish eye position first, then calibrate focus.
Think of the setup controls as two groups. Eyecups and interpupillary distance establish how your eyes meet the binocular, while the diopter and focus mechanism establish sharpness for your vision and viewing distance. That distinction matters because some settings are personal and usually stay put, while normal focus changes whenever the subject distance changes. For broader handling and viewing basics beyond setup, see the guide to how to use binoculars comfortably and consistently.

This 8x42 full-size binocular combines a wide field of view with long eye relief. Its waterproof, fogproof body is rubber armored for outdoor handling. It gives this setup section a conventional binocular for practicing stable eye position before refining focus.
Check on AmazonIf you click this link and buy, we earn a commission at no additional cost to you.
Map the controls on your specific binocular
Before adjusting anything, identify what each control actually does on the binocular in your hands. Many center focus models use a large central wheel for routine focusing and a separate diopter control near one eyepiece, but that layout is not universal. Some diopters lock, some sit on the left side, and some compact designs combine functions into a central control. If the control location is unclear, the owner’s manual is a better authority than a generic four step routine.
Move each control only through its normal operating range and do not force a stop. A hinge changes the spacing between eyepieces, eyecups change eye position relative to the ocular lenses, the center wheel usually changes focus for both optical paths together, and the diopter compensates for a left to right difference in focus. Individual focus binoculars are different because each eyepiece has its own focusing control instead of relying on one center wheel for routine distance changes. The table below is a quick map, not a substitute for the instructions for an unusual control system.
| Control | What it changes | When you normally adjust it |
|---|---|---|
| Eyecups | Eye position relative to the eyepiece | During personal fit, or when switching between glasses and no glasses |
| Center hinge | Interpupillary distance | During personal fit, or after another user changes it |
| Diopter | Focus balance between your eyes | During calibration, or after it is moved |
| Center focus wheel | Focus for the current viewing distance on most center focus designs | Whenever subject distance changes |
Once those jobs are clear, setup becomes much less mysterious. You are no longer asking one wheel to fix every visual problem. You are choosing the control that matches the symptom in front of you.

This 8x42 Porro-prism binocular uses multilayer-coated optics and turn-and-slide eyecups. It is tripod adaptable and sold as an official Nikon USA model. Its eyecup and hinge layout gives a practical reference while identifying the controls on a binocular.
Check on AmazonIf you click this link and buy, we earn a commission at no additional cost to you.
Fit the eyecups to your eye position or glasses
Eyecups control how far your eyes sit from the eyepieces, so they deserve attention before fine focusing. A common starting point is to retract them for eyeglasses and extend them for viewing without glasses, but intermediate positions can be better on designs with multiple stops. What matters is whether you can see a full, stable field without dark crescents, obvious clipping, or a need to press the binocular hard against your face. The correct position is the one that places your eyes consistently at the usable eye relief of that specific binocular.
Do not treat the lowest or highest click as a universal answer. Face shape, glasses thickness, eyecup travel, and the binocular’s eye relief all affect the result, so small changes can matter. If the view blacks out when you shift slightly, try changing eyecup height before touching the diopter. Once the eye position feels repeatable, keep that setting while you adjust interpupillary distance so you are not changing two variables at once.

This 8x42 waterproof binocular uses phase-coated BaK-4 prisms and fully multi-coated optics. Its twist-up eyecups provide multiple positions for eyeglass and non-eyeglass viewing. That makes it directly relevant to testing eye position before changing focus or diopter settings.
Check on AmazonIf you click this link and buy, we earn a commission at no additional cost to you.
Set IPD until both fields merge naturally
Interpupillary distance is the spacing between the centers of your pupils, and the binocular hinge lets the eyepieces move closer together or farther apart to match it. Look through both eyepieces and slowly move the barrels until the two fields overlap into one comfortable circular view. If you are seeing two separate circles, a pinched overlap, or persistent dark areas near the center, the spacing is not yet right. Make the movement slowly because a small hinge change can be enough.
A useful IPD setting should feel natural rather than forced. You should not need to pull your eyes inward, shift your head sideways, or keep re-centering each eye to hold one image. If the binocular has an IPD scale, noting the value can make it easier to restore your position after someone else uses it, but the number is only a reference. The visual result matters more than matching a remembered mark when the eyecups or glasses have also changed.

This 8x40 Porro binocular has an interpupillary distance range of 56 to 72 mm. It uses multi-coated optics and a large center focus wheel. The specified IPD range makes it a concrete reference for practicing how the two fields merge as barrel spacing changes.
Check on AmazonIf you click this link and buy, we earn a commission at no additional cost to you.
Calibrate the center focus and diopter in the right order
After eye position and barrel spacing are settled, choose a stationary subject with fine visible detail and enough distance that small focus errors are easy to notice. On a common center focus design with the diopter on the right, cover the right objective or close the right eye and use only the center focus wheel to make the left side sharp. Then leave the center wheel alone, cover the left objective or close the left eye, and use only the diopter to sharpen the same subject for the right side. When both sides are matched, open both eyes and confirm that the image remains comfortable and sharp.
That sequence separates two jobs that are often confused. The diopter is personal calibration for the difference between your eyes, while the center focus wheel is the control you normally use as viewing distance changes. If the diopter has a lock, engage it after you are satisfied with the setting, and if it has a scale, note the position as a useful return point rather than a medical measurement. From then on, routine refocusing should usually happen at the center wheel without repeated diopter changes.
What changes when the diopter is on the left or built into a center control
The calibration logic stays the same even when the hardware changes, but the eye you set first may change. Nikon’s instructions explicitly note that a left side diopter reverses the usual left first, right second procedure, and some compact designs use a center control that performs both focusing and diopter functions through a separate mode or action. That is why the physical location of the control matters before you copy a generic routine. Follow the model’s instructions for which side is the reference side, which control must remain untouched during the second step, and whether a lock or selector has to be moved.

This 8x42 binocular uses ED glass, fully multi-coated optics, and phase-coated BaK-4 prisms. It has a center-focus system with diopter adjustment and 17.8 mm of eye relief. Its conventional focus layout fits the sequence of setting a reference side and then balancing the other.
Check on AmazonIf you click this link and buy, we earn a commission at no additional cost to you.
Individual focus binoculars need a different routine
Individual focus binoculars do not use the same everyday workflow as a typical center focus model. Each eyepiece is focused independently, so you set one eye with its own focusing ring and then set the other eye with the other ring. When the viewing distance changes enough to require refocusing, both sides may need adjustment again. Trying to apply a center wheel plus one time diopter routine to this design only creates confusion because there is no shared center focus control doing that job.
The practical consequence is that individual focus is usually slower when you move repeatedly between near and far subjects. In return, the separate eyepiece controls can suit situations where the viewing distance stays relatively stable and the user wants each side set independently. The important point here is not that one system is universally better, but that the setup sequence must match the mechanism you actually have. If your binocular uses this design, the dedicated guide to focusing individual focus binoculars goes deeper into that routine.
| Focus system | Personal calibration | Normal distance changes |
|---|---|---|
| Center focus | Set the diopter after establishing fit | Use the center focus wheel |
| Individual focus | Focus each eyepiece for its eye | Refocus each side as needed |
Check the control labels and manual if you are uncertain which system you have. The distinction is mechanical, not a matter of preference or terminology. Once identified, the correct setup path becomes straightforward.

This 7x50 binocular uses Steiner Sports-Auto-Focus, which is set by adjusting each eyepiece to the user’s vision. Steiner specifies a sharp viewing range from 20 yards to infinity after that personal setup. Its independent eyepiece calibration directly matches the section on individual-focus routines.
Check on AmazonIf you click this link and buy, we earn a commission at no additional cost to you.
Record or remember personal settings if binoculars are shared
Shared binoculars are where a good setup can disappear quickly. Another person may change the hinge spacing, eyecup height, or diopter, then hand the binocular back looking perfectly normal from the outside. Recording a few reference points saves you from treating every handoff like a new optical problem. The most useful references are the ones you can restore without guessing.
You do not need a complicated worksheet. Note the eyecup position, approximate IPD mark if the binocular provides one, diopter mark, whether you normally wear glasses, and any control that must be locked after calibration. These are personal setup references, not universal settings for everyone who uses the same model. After restoring them, confirm the view with your eyes rather than assuming the marks are perfect forever.
| Personal setting | What to record | Quick check after restoring it |
|---|---|---|
| Eyecups | Down, up, or intermediate stop | Full field without unstable blackouts |
| IPD | Scale mark if available | One naturally merged circular field |
| Diopter | Index position and lock state | Both eyes look sharp on the same subject |
This small record is especially useful in a household, classroom, vehicle, or shared observation kit. It shortens the reset process without pretending the numbers are more important than the view itself. If a setting no longer produces a comfortable image, redo the fit instead of forcing yourself to match the note.

This weatherproof soft-cover pocket notebook measures 3.5 by 5 inches and uses a universal page pattern. The tan No. 954T format is compact enough to keep with an observation kit. It gives shared-binocular users a simple place to record eyecup, IPD, and diopter reference settings.
Check on AmazonIf you click this link and buy, we earn a commission at no additional cost to you.
Use a visible landmark to acquire targets faster
Correct calibration does not automatically make target acquisition easy, especially when the field of view is much narrower than your unaided vision. A simple way to practice is to choose a clear landmark, keep looking at it with your naked eyes, then bring the binocular up without looking down at the controls. If the setup fits you, the landmark should appear close to the center rather than forcing you to hunt around the field. This checks both your handling and whether your eye position is repeatable.
Start with something large and stationary, then move to smaller or more mobile subjects once the motion feels natural. If you repeatedly lose the landmark as the binocular reaches your face, check grip, eyecup contact, and IPD before blaming focus. The center focus wheel should refine sharpness after acquisition, not help you discover where the subject went. For a fuller technique sequence, use the guide to finding objects with binoculars more quickly.

This lightweight binocular harness moves the load from the neck to elastic shoulder straps. Quick-release connections let the binocular travel smoothly up and down the straps for access. That supports repeated raise-to-eye practice while keeping the binocular close at hand between attempts.
Check on AmazonIf you click this link and buy, we earn a commission at no additional cost to you.
What correct setup should feel like
A correctly set binocular should stop demanding attention from you. The two fields should merge without conscious effort, the image should not disappear with tiny head movements, and the focus should become sharp with ordinary center wheel adjustment on a center focus model. You should not need to squeeze the eyecups against your face or keep shifting the hinge while following a subject. The controls should feel like they are supporting the view rather than competing for your attention.
Perfect edge behavior or optical performance is a separate question from setup. A binocular can be calibrated correctly and still have limitations in eye relief, field of view, close focus, focus speed, or other design traits that do not suit you. Setup tells you whether the available controls are matched to your eyes, not whether every aspect of the binocular is ideal. That distinction keeps you from endlessly adjusting a correctly set binocular in an attempt to solve a design or fit limitation.

This 7x50 Porro binocular is designed with a wide field of view and multi-coated optics. It is comfortable for handheld use and can also accept a tripod. The wide-field format gives a practical binocular for checking whether a calibrated setup produces one stable, easy-to-enter view.
Check on AmazonIf you click this link and buy, we earn a commission at no additional cost to you.
Symptoms that belong in troubleshooting, not setup
Setup should solve ordinary fit and calibration problems, but it has limits. If the image remains severely doubled after careful IPD and focus adjustment, a hinge feels damaged, a control will not move through its normal range, moisture appears inside the optics, or one optical path cannot be brought into focus as the manual describes, stop treating the issue as routine setup. Do not force a hinge, focus ring, or diopter past its normal stop. Mechanical or internal optical problems belong in troubleshooting or qualified service, not in a longer adjustment session.
It is also important not to use binocular setup as an explanation for symptoms that occur away from the binocular. This article can help distinguish eye position, IPD, focus, and control use, but it cannot diagnose persistent visual discomfort or double vision outside viewing through the instrument. For problems that remain after correct setup, continue with the binocular troubleshooting guide and follow the exact owner’s manual when the model has a special control or service restriction. A clear boundary is more useful than pretending every soft or uncomfortable view can be fixed by another turn of a knob.

This compact optics-cleaning tool is made for binocular, telescope, and camera lenses. It combines a retractable dust brush with a cleaning tip for dust and smudges without liquid. It is useful for routine external lens care while internal moisture and mechanical faults remain troubleshooting issues.
Check on AmazonIf you click this link and buy, we earn a commission at no additional cost to you.
Final Thoughts: personal calibration should reduce later fiddling
The useful test of a binocular setup is what happens after the setup session ends. Once eyecups, IPD, and diopter match you, a center focus binocular should usually need only ordinary focus changes as subject distance changes. If another user changes the settings, restore your references and verify the view instead of starting from random adjustments. When correct setup still does not produce one comfortable, controllable image, move to troubleshooting rather than forcing the controls.
Keep the sequence simple when you have to reset the binocular later. Restore eye position, merge the fields with IPD, recalibrate the diopter only when necessary, then return to ordinary focusing. That order makes each adjustment easier to judge because one control is not masking a problem caused by another. A setup that stays out of your way is doing its job.

This 15x70 Porro binocular uses BaK-4 prisms, multi-coated optics, and a large center focus wheel. It includes a tripod adapter and carrying case for long-range or astronomy use. Its conventional center-focus control provides another concrete example of returning to ordinary focusing after personal setup is complete.
Check on AmazonIf you click this link and buy, we earn a commission at no additional cost to you.
Explore related binocular setup topics
Once the basic setup is stable, these guides let you work on one control or handling task at a time. That matters because changing several controls together makes it harder to tell which adjustment solved the problem and which one simply changed the view in a different way. Start with the topic that matches the next problem you actually need to solve, whether that is routine focusing, diopter calibration, eyecup position, or target acquisition. Keeping the task narrow also makes it easier to return to a known personal setting if another adjustment does not help.
| Topic | What you’ll find |
|---|---|
| How to focus binoculars | A closer look at routine focusing after personal calibration is complete. |
| How to adjust the binocular diopter | Step by step help for matching focus between your eyes. |
| How to adjust interpupillary distance | How to set barrel spacing until the two fields merge naturally. |
| How to adjust binocular eyecups | How eyecup position affects eye placement, glasses, and field visibility. |
| Using binoculars with glasses | Practical fit checks for eye relief, eyecup position, and stable viewing. |
| How to focus individual focus binoculars | The separate eyepiece routine used when there is no shared center focus system. |
| How to attach a binocular strap | How to route and secure a strap once the optical setup is complete. |
| How to find objects with binoculars | Target acquisition habits that make a correctly fitted binocular faster to use. |
You do not need to work through every topic after each setup. If the binocular already fits comfortably and stays calibrated, leave those settings alone and use the center focus normally as viewing distance changes. Open a more specific guide when one control, fit issue, or handling task is still unclear, then change only what that problem requires. Keeping each adjustment job separate makes it easier to tell what changed, whether the change actually helped, and when the binocular should simply be left alone.

This Type 2 optic strap uses loop connectors, a field-repair buckle, and an adjustable lightweight neoprene design. It is intended for binoculars and cameras. It fits the related setup topics section because the article specifically routes readers to strap attachment after the optical adjustments are complete.
Check on AmazonIf you click this link and buy, we earn a commission at no additional cost to you.
FAQs
🔭 What should I adjust first on new binoculars?
Start with eye position and fit before fine focusing. Set the eyecups and IPD so you see one stable field, then calibrate the focus and diopter according to the control layout in the manual.
👓 Should the eyecups be up or down with glasses?
Retracted eyecups are a common starting point with glasses because the lenses already hold your eyes farther from the eyepieces. If your binocular has intermediate stops, use the position that gives you the fullest stable field without blackouts.
⚙️ Do I change the diopter every time I focus?
Usually no on a center focus binocular. Once the diopter is calibrated for your eyes, routine distance changes should normally be handled with the center focus wheel unless the diopter has been moved.
👁️ Why do I still see two circles through the binoculars?
Your IPD may not match the spacing between the eyepieces yet. Adjust the hinge slowly until the two fields merge into one natural circular view, then recheck eyecup position if dark areas remain.
🧭 What if my diopter is on the left side?
Reverse the eye order used by the common right side diopter routine. Use the owner’s manual to confirm which side is the reference side and which control must stay fixed while you calibrate the other eye.
🔧 When should I stop adjusting and troubleshoot instead?
Stop if correct fit and calibration still leave severe double images, an optical path that cannot focus, a damaged or stuck control, or signs of internal moisture or impact damage. Do not force moving parts beyond their normal range.
References and Sources
- Bushnell binocular setup guidance: supports the relationship among IPD, eyecup position, diopter calibration, and routine center focusing.
- Nikon center focus binocular instructions: supports the single field IPD check, diopter sequence, left side diopter reversal, and center focus use after calibration.
- Nikon individual focus binocular instructions: supports focusing the left and right eyepieces separately and refocusing both sides when distance changes.
- Nikon binocular precautions: supports the instruction not to force focusing, diopter, or other moving controls beyond their normal limits.
- Leica compact binocular control documentation: supports the point that some compact designs combine focusing and diopter functions in a central control system.